The Blister
 |
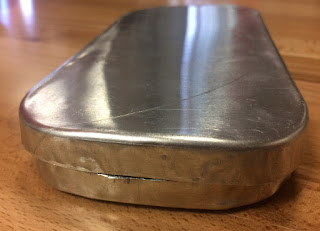
| Oh dear! |
 |
| Main tools used |
 |
| In process |
 |
| 4 projects done now |
I did have to start the blister again because my mighty muscles split the metal, reminding me that aluminium is fragile and does not respond well to huge force against a hard edge (the template). I would have liked to achieve a smoother, less varied surface to the blister, but could not find the right tool...perhaps the small English wheel with some very careful maneuvering...
Anyway some tools that I used in this project that I hadn't before were the small wooden mallets, and of course the corking tool, which I had to gradually make smaller on the disc sander to fit in the tip of the blister.
Last class was a nightmare. Everything went wrong. I nearly broke the drill that's not a drill (you push it across not down) that we used to cut out the last bits of the two templates. This was due to me putting my CNC-ed template the wrong way up on the bench. Then when I tried to drill it the drill was in reverse and I didn't realise and couldn't figure out why it wasn't working. This was later topped off by splitting the metal on my first attempt. Anyway I guess you don't learn if you don't make mistakes. Note to self, if the drill bit is smoking- SOMETHING IS WRONG. STOP.
 |
| Finished blister |
Comments
Post a Comment